Showing posts with label Thanksgiving. Show all posts

Monday, November 26, 2012

Fall Door Wreath

My Fall Door Wreath.
{I love how it looks like turkey feathers}

I used a green floral wire wreath frame to tie onto with the burlap strips( 1/4"x8'). The burlap is very messy. [I had to change clothes and vacuum afterwards].
Pin It Pin It

Saturday, November 24, 2012

Thankful Chalkboard

I got this made Thankful ChalkBoard a little late this month but next year I hope to use it all month long so we can write down the many blessings that come daily.
I started with cutting a shutter door in 1/2.
I painted the board "frame" and then drilled holes in the top for the fabric ribbon.
This is so cool. . .I just figured it out. Instead of measuring a cup of Flat paint, I got this "sample" Behr container(from Home Depot & the samples only come in Flat) to just add the 2 Tbl. of  non-sanded tile grout to make the Chalkboard Paint. It was so much easier! And you can have a different color than the boring Black & Gray. I did a Chocolate Brown(Dark Truffle UL140-2).
Brush on the Chalkboard Paint. I did 3 coats. Sand lightly(with the FINE sandpaper) between each coat. Then "condition" the board before the first use.
*Condition means to lay the chalk on its side and cover the whole board. Then wipe off with a clean dry cloth. You are now ready to write on the chalkboard.

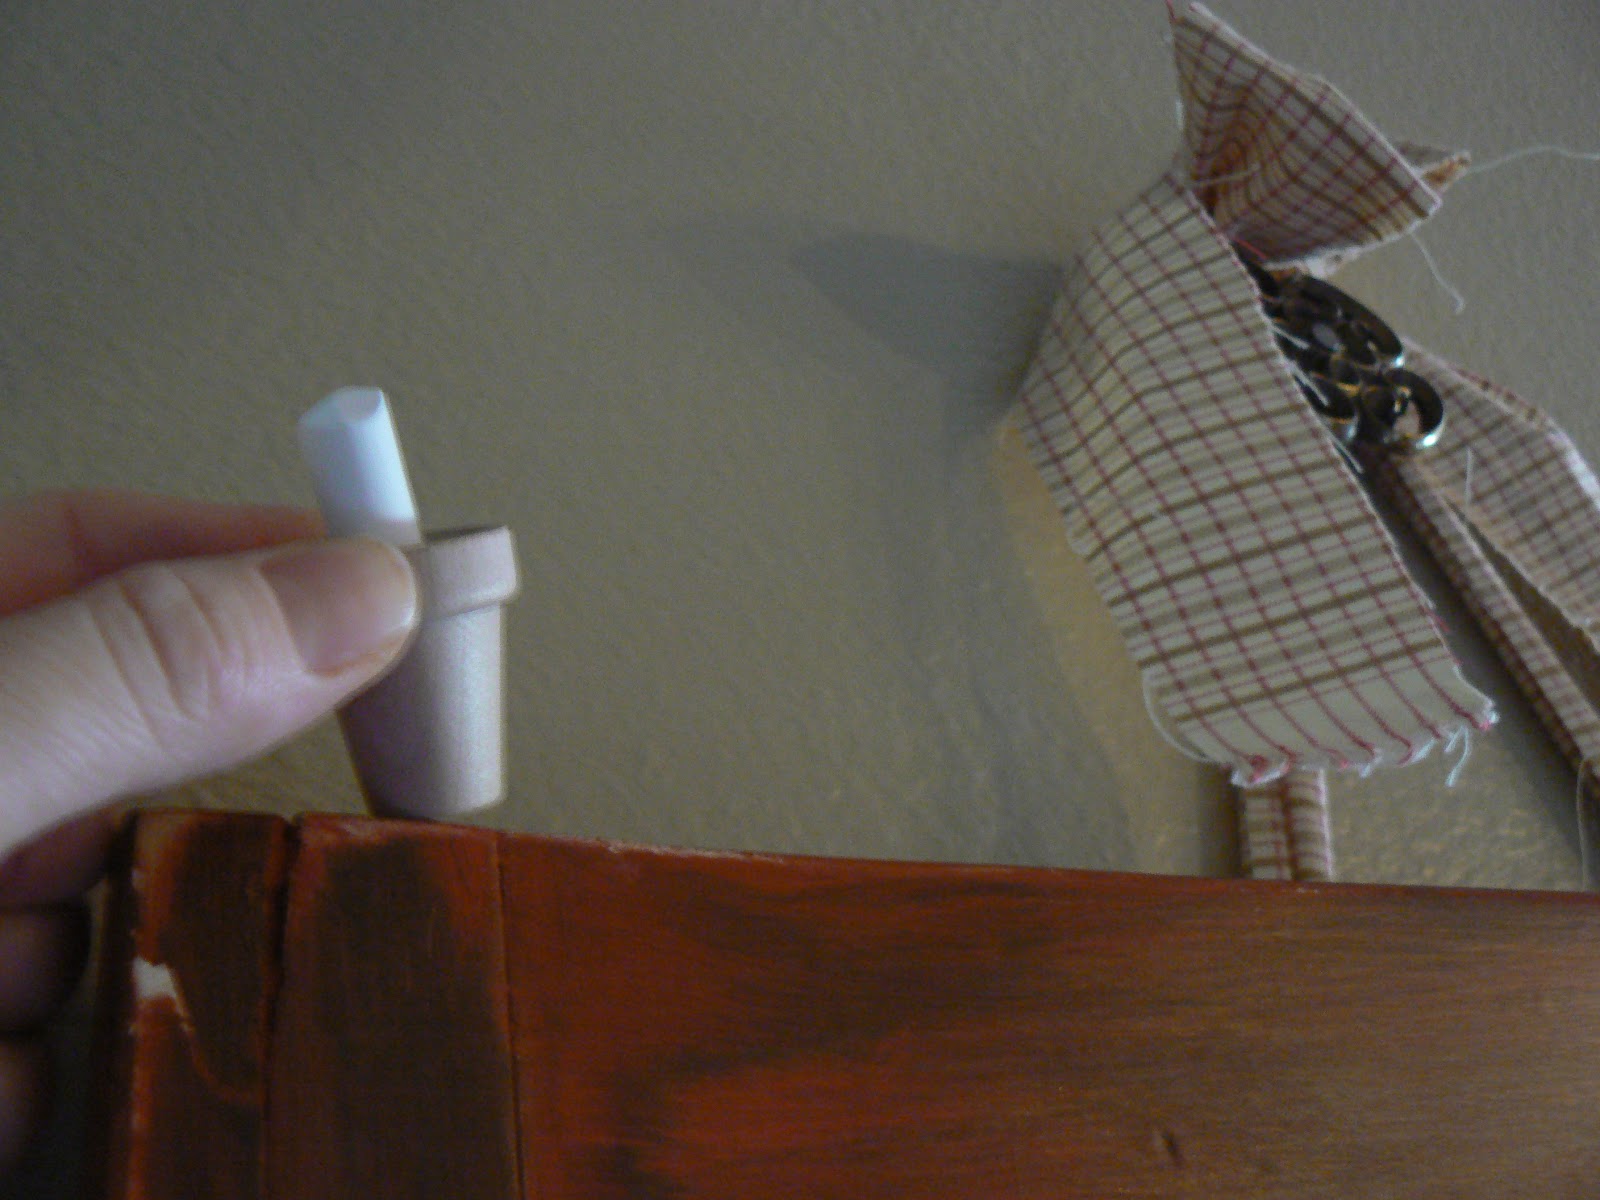
 Drill a hole in the top of the frame for the wooden pot(sorry not sure of the size cause I had it leftover from another project) to hold the chalk.
Pin It Pin It

Friday, November 23, 2012

ThanksGiving Day 2012

I love how our ThanksGiving Day tablescape turned out. 
I took a few different angles.
I used: 2x12x8 wood board(stained), 11 different kinds of squash(Winco Food Store), candles in mason jars, corn, leaves & grass picks(dollar store), more leaves and pinecones(Walmart clearance).

Our Thankful Chalkboard(post coming tomorrow).

Our middle daughters' birthday fell on Thanksgiving this year so we celebrated that as well.
 Auri turns 12. 
I made posterboard numbers for our family members to write birthday wishes.
Birthday Banner using paper plates(Walmart clearance) with vinyl letters.
Pin It Pin It

Wednesday, November 23, 2011

Truffle Turkeys


I'm finally done with these Truffle Turkeys-they took a little longer than I thought but they are soo cute! I'm putting these on the plates as a decoration but it also serves as a party favor.


Base: Cut a piece of cardstock 2 1/2"x4". Fold in half.


Feet: Use the flower punch and cut according to the picture.


Feathers: Fold a coffee filter in 1/2 then in 3rds. Ink the outer edges with the brown ink pad.


Staple the feathers on and glue "dot"(scrapbooking item) the feet.


Body: I used #8 as my stencil. When I cut it out I cut the bottom half a little bigger.


Ink around the body edge. Draw a face[this is all the time I could spare].


Make the truffle balls. I rolled mine in almonds to cut down the super sweet taste. Put the Truffle candy in clear plastic bags.


Glue "dot" it all together. You could add some raffia if so desire.

You can never go wrong with Chocolate! Pin It

Monday, November 21, 2011

ICE Container


I LOVE LOVE Sonic Ice. I will go there just to get a large ice water with extra ice when I out & about. I thought Thanksgiving would be a perfect time to bring some in.
Here is my Sonic Ice Container:

Container from Walmart-$2.38(found in the camping area)


I used my stencil & permanent marker to "pretty it up".


Fill up with Sonic Ice(only $1.58 a bag). I got the clear plastic scoops at the Dollar Tree Dollar store in the wedding section. Pin It

Friday, November 18, 2011

Tom Turkey Brooch


I love brooches. It seems they are becoming more popular-the flower ones anyways. I made this one to wear on Thanksgiving Day.
My How To:


1-I cut 2 strips of fabric from dark brown fabric to coil into rosettes (this is a great tutorial on that). For the body I cut 1 at 43"x1" & for the head I cut 1 at 23"x1". For the "feathers" I cut 1 at 2"x6", 2 1/4"x6", 2 1/2"x6".


2-Layer the "feather" fabric together and run a gathering stitch along the bottom.


3-Pull tight and tie a knot.


4-Fray the edges by pulling on the strings.


5-Cut slits.


6-Use the fabric rosettes & adhere the "body" to the wooden disc.


7-Attach the head to the body, then add eyes(black rhinestone), beak(scrapbooking paper clips), & the red gobble thing(extra fabric).


8-Glue on a pin attachment to the back.


Here is another one I made with different fabric and I changed the rhinestones eyes to smaller ones-looks better
Pin It

Wednesday, November 16, 2011

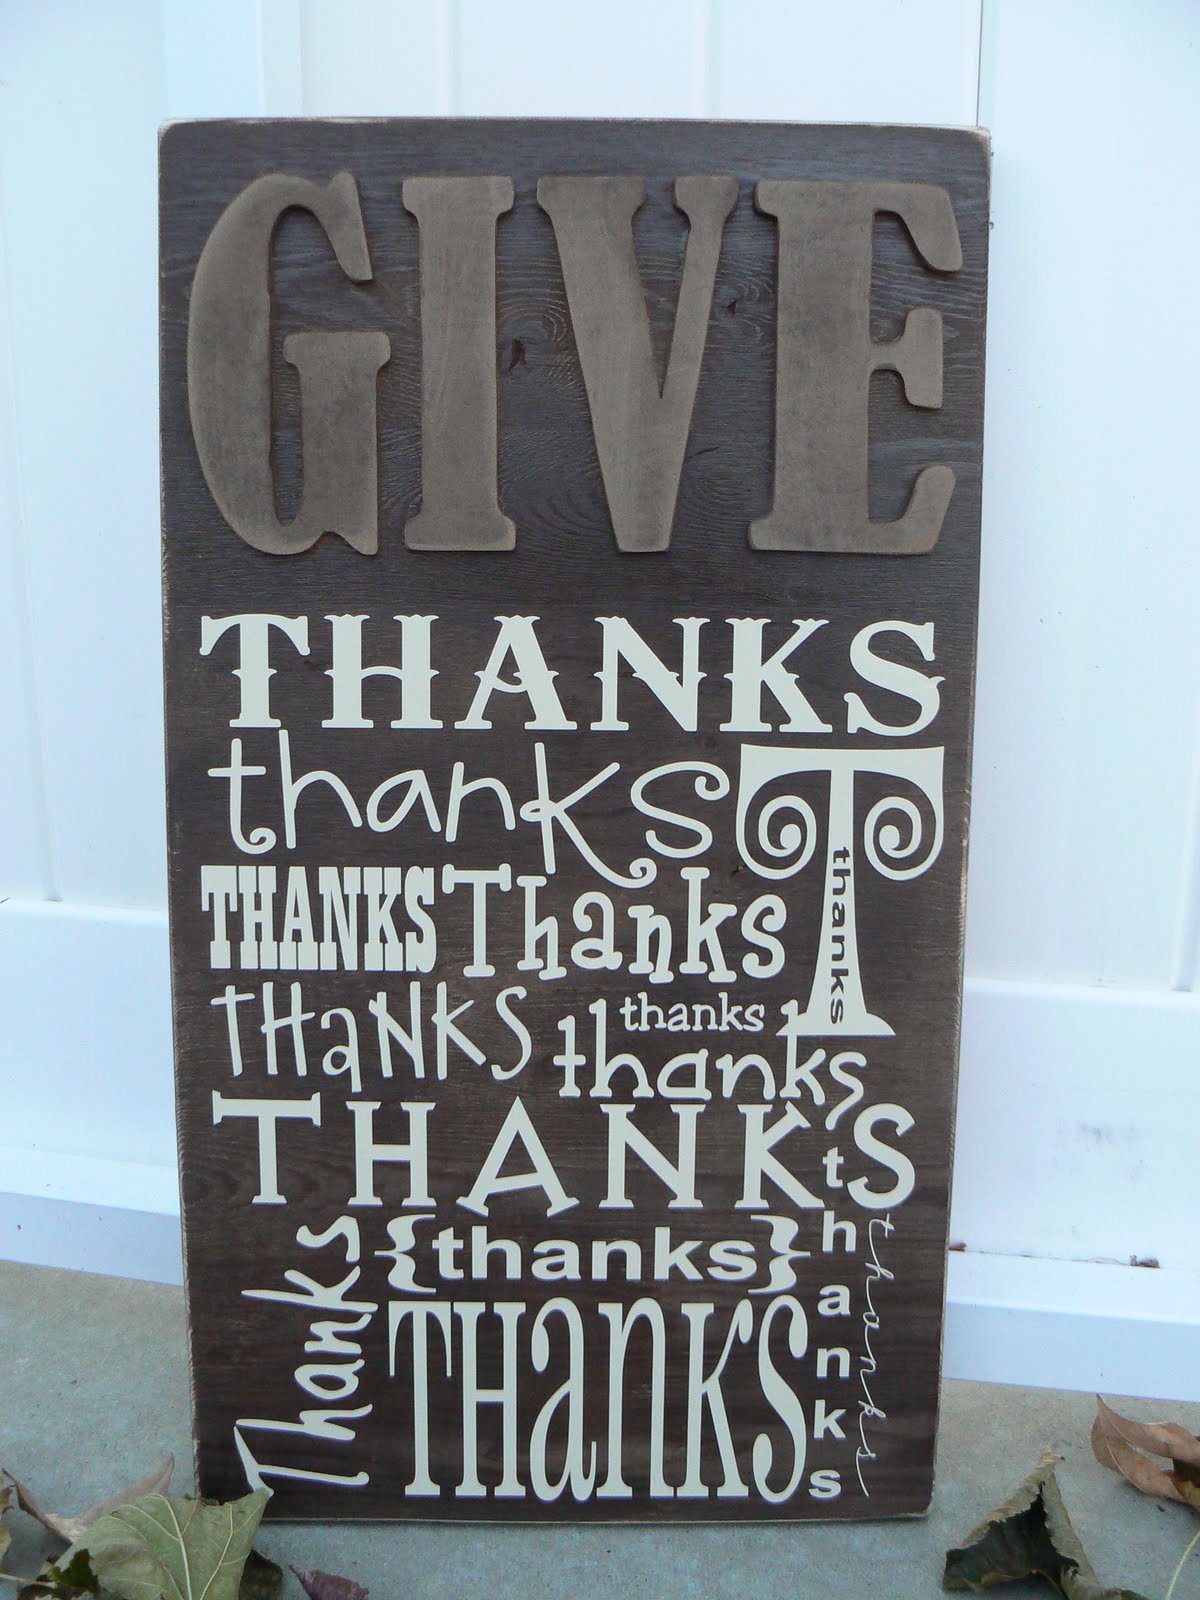
GIVE THANKS Subway Art


I Love how this turned out. I might just leave this out all year long! What a great item to remember to Give Thanks all the time.

My How To:

I used 5 inch wood letters. I just cut out my letters with some left over bead board wood.


The board measures 11"x20".


After the letters are glued on with some wood glue, spray paint the whole board dark brown.


When the paint is dry, sand the edges and lightly sand the top of the board & letters. I sanded just enough to get it smooth for the vinyl. I like how the 2 different types of wood gave me the look I was going for.


Adhere the "subway" vinyl of "thanks". [If you would like to order this vinyl its $7.00 with $2.00 shipping. Email me with your request: loverde@cableone.net] Pin It

Tuesday, November 15, 2011

Our TOM Turkey


Our daughter created the table centerpiece for Thanksgiving dinner. Pin It

Friday, November 11, 2011

Pray with GRATITUDE

I've decided to take Elder Bednar's challenge to have more meaningful Prayers with much Gratitude. The times I have done this, saying thanks for things and not asking for anything, I'm amazed at how many blessings I can see around me. Pin It

Saturday, November 5, 2011

Double Duty Decor


I realized as I was putting away my Halloween that I had painted the back side of these wood block pumpkins. Now I can use them as my November decoration. . .


This is the other side for October. Pin It

LinkWithin

Related Posts with Thumbnails