Showing posts with label Home Decor. Show all posts

Saturday, January 26, 2013

Pretty Bottle

my Listerine bottle needed a "pretty" update. . . 
I went from this. . .
to this. . . .

[I found this bottle at a restaurant store for oil/vinegar.
 It doesn't pour out-you have to shake it into your mouth 
but I think I use less and it looks so "magazine ready"] 
Pin It Pin It

Saturday, January 5, 2013

A New Year {2013}

 What a great way to start off the New Year! 
I printed one to hang in a our kitchen so we can see it often.
[I found this printable from here.] 
Pin It Pin It

Saturday, November 10, 2012

Altered Frame

A Great picture to go in a Great Frame!

My mom gave me this bag full of buttons. 
They've been sitting on my craft room floor for. . .awhile. I didn't know what to do with them until today. 
I got this frame from the second hand store(only $1.00).
Take the wooden buttons and hot glue them to the frame. I didn't really do any pattern.
Spray paint the whole frame(I used the "Hammered" one).
Add the rhinestones to the middles to hide the button holes.

 A finished Frame that I hope is "Target Store" worthy!
Pin It Pin It

Thursday, October 25, 2012

Lasting Candle

Here's a quick tip to make your favorite candle last a lot longer: 
after you have burned it down a bit add a tealight (regular one or a battery operated one) to the center.
I love the fall weather. Perfect time for candles and hot chocolate.
Pin It Pin It

Friday, September 21, 2012

"Try Me" Lotions

The stores have "Try Me" lotions so I wanted to do that same thing for our guest bathroom. 
I found this container (at Goodwill for $1.00) to hold different lotions.
This one of [my favorite things]!
Pin It Pin It

Monday, September 17, 2012

Puffy Paint Quote Board

 My friend gave an amazing lesson in church a few weeks back and the message just spoke to my soul. I decided to make something special for her to show my thankfulness. I knew the quote I was going to do and when I found this idea to do the puffy paint in a scroll pattern- it just fit.
Using my stencil, I traced a design. Then use the puffy paint to go over the pencil line design. 
*TIP: use the color of puffy paint close to the same color of paint you are going to paint the board (as a trial, we did white puffy paint and yellow board paint-you could totally see the white puffy paint, it didn't look as good)
After the puffy paint has dried (I did this at night so it could dry overnight) then paint your whole board the color of your choice. When the paint is dry, add your vinyl quote.

It turned out so beautiful, I made one for my SIL's new home and now I need to make one for our home.
Pin It Pin It

Friday, September 14, 2012

Hair Accessory Wall Mount

After lots of thinking, I finally figured out what could hold all my hair accessories and scarves in one place.
My How To:
I started with ruff fence wood(WRC Flat Top 5/8"x5 1/2"x6' @ Home Depot). Its really light weight compared to pine or other wood. I cut the boards to fit on my wall(32" long). Then painted and sanded them.
Nail all the plank boards together with 2 pieces of wood on the back side.
Attach the "hardware" onto the front. (top left) bars are magnetic. They are used for tools but I got them for half price(Harbor Freight), cup hooks in the middle, (top right) are fence post brackets I found at a second hand building store(Restore)for only $0.25 each, (bottom) is a curtain rod from Walmart that I spray painted brown.
Hair Clips on the magnetic bars.
 Headbands on the cup hooks and fence post brackets.
Pin It

Monday, September 10, 2012

Audra's Wall Art

There is a store downtown Boise that has amazing designs(other inspiration ideas will be coming in future posts). They did a simple circle wall art and our daughter, Audra realized this would look great in her newly decorated room.

I built a frame using 2"x2" wood pieces(38"x61") to fit the $3.00 fabric I found on clearance(Home Fabric store).
She used the paint we had by putting some on a plate and dipping the top rim into the paint then applying it to the fabric. When it was all dry we then stapled it to the wood frame.
Pin It Pin It

Saturday, September 8, 2012

T-Shirt Rug

My SIL moved into a new home so I thought this would be a nice homecoming gift: This RUG is made out of recycled t-shirts. I was inspired with this detailed tutorial, go here.
Cut 1" x 4" strips of t-shirt(found at second hand store). I cut up 4 men's XL shirts and used the whole shirt of each.
Sew them on a hand towel(which I also found at the second hand store)along the drawn lines. I got about 30 strips on each line.

It feels so comfortable and looks so cool! Now I need to make me one.
Pin It Pin It

Friday, July 27, 2012

Kids "Daily Duties" Board

Pretty soon we will have to get back into the swing of things with school starting. The paper chore charts we have done in the past have not worked out so I thought I might change and try something new.
I built these boards(13"x13") with plywood and beadboard and attached some 12"x12" magnet boards with E6000 glue.
Adhere the vinyl.
For the "duties" I used the glass pebbles, paper & mini magnets.


Pin It Pin It

Wednesday, July 25, 2012

My Organized CookBooks

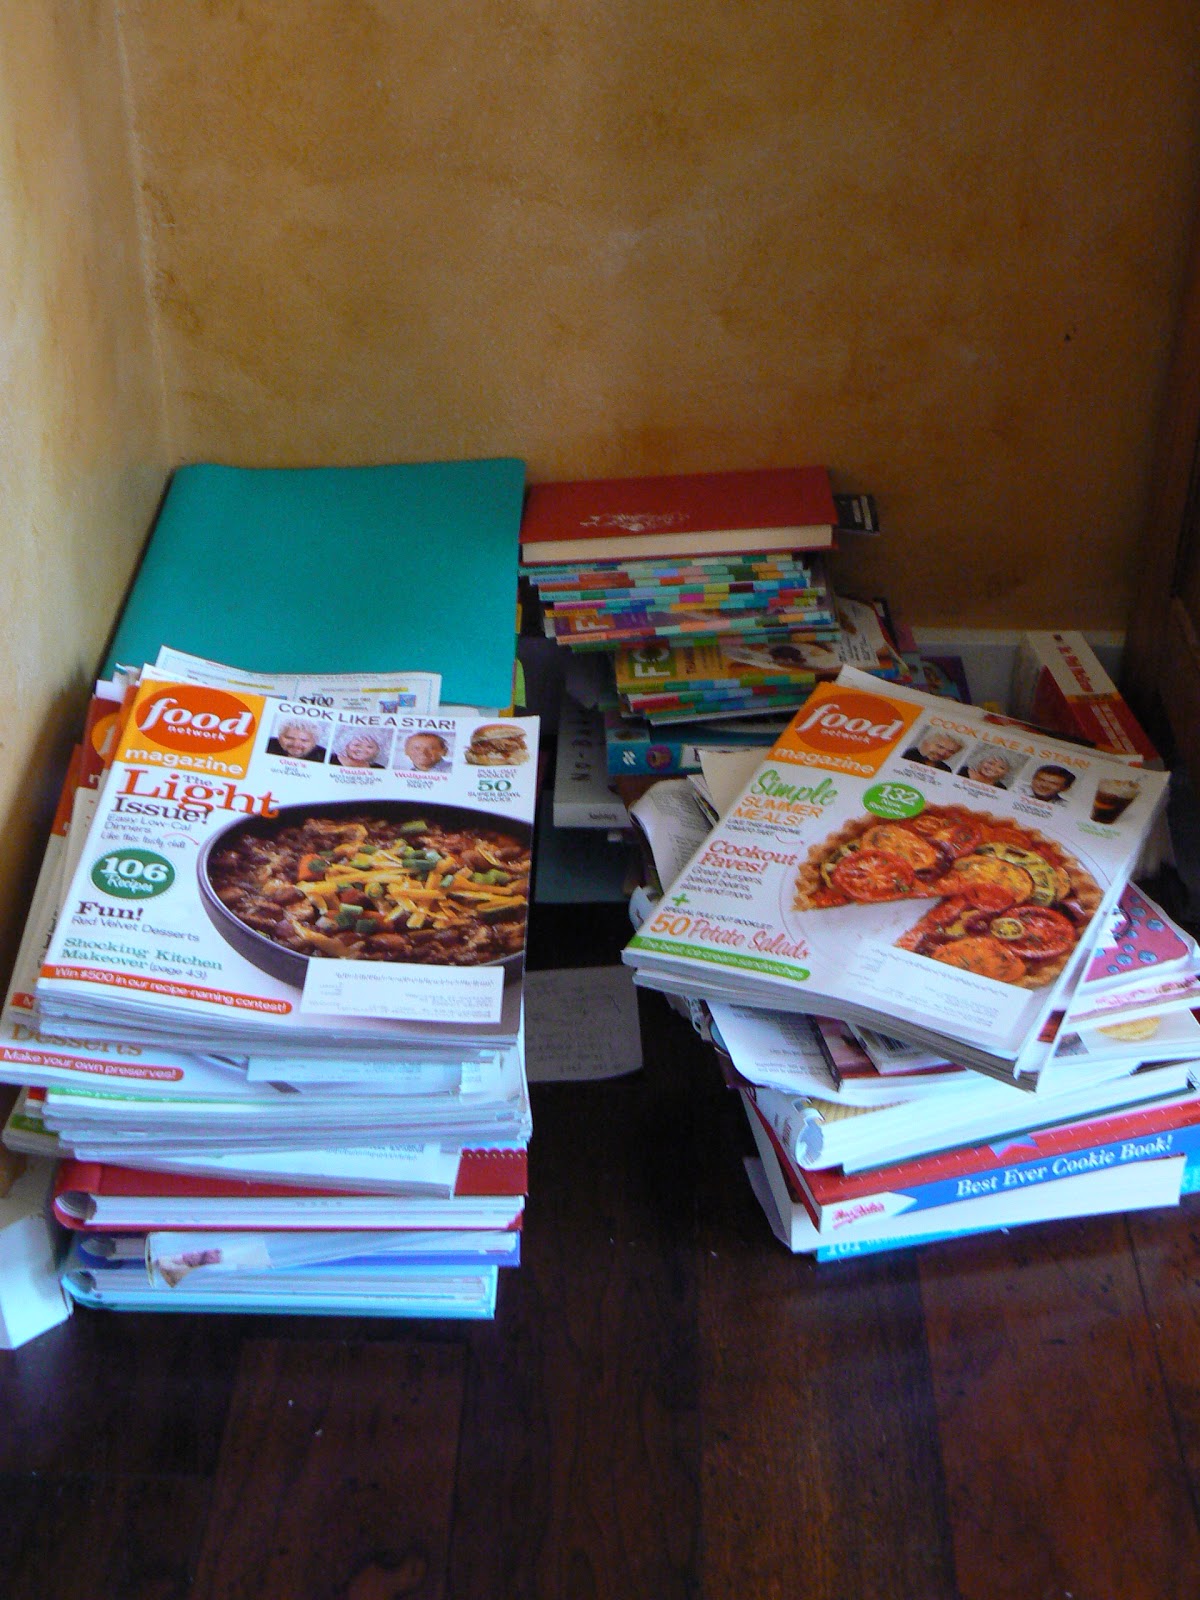
After many months of looking at my Cookbooks in three different places I finally had time to fix that problem.
Here is the cabinet I'm going to use that is in our dining room.
My many cookbooks.
I measured the cabinet and cut the wood accordingly to fit.
Finish off the edges with thin wood (lathing).
To hold up the ends I just used some 2x4's until I can build some bookcases to go underneath.
 the Finished project. I reused some of my wire baskets for the magazines. The hard bound books are stacked on the shelf in the cabinet. The daily binders are in the kitchen cabinets.
Pin It Pin It

Friday, May 11, 2012

Quote Blocks

I went to my cousins baby shower a while back and on one of the shelves sat these cute Blocks.
I had to make some.
I thought this would be a great reminder for our Family!
Pin It Pin It

Monday, March 26, 2012

Re"Newed" Tray Table


I needed a little table to use while sitting in front of the TV relaxing (after the kids go to bed) for working on projects. I found one in the pile to go to the second hand store from one of our daughters. I decided to pull it out and give it a NEW life.


Before . . . .


I sanded it down, spray painted it black then gray.


Then I cut a piece of leftover fabric to Mod Podge in the middle.


Pin It Pin It

Friday, March 2, 2012

Shelving {Picture} Wall

My friend Katie is always willing to throw projects my way that challenge me and expand my talents. I love her for that!
She wanted some Shelving in her living room to display family photos.

This is how it turned out. . .


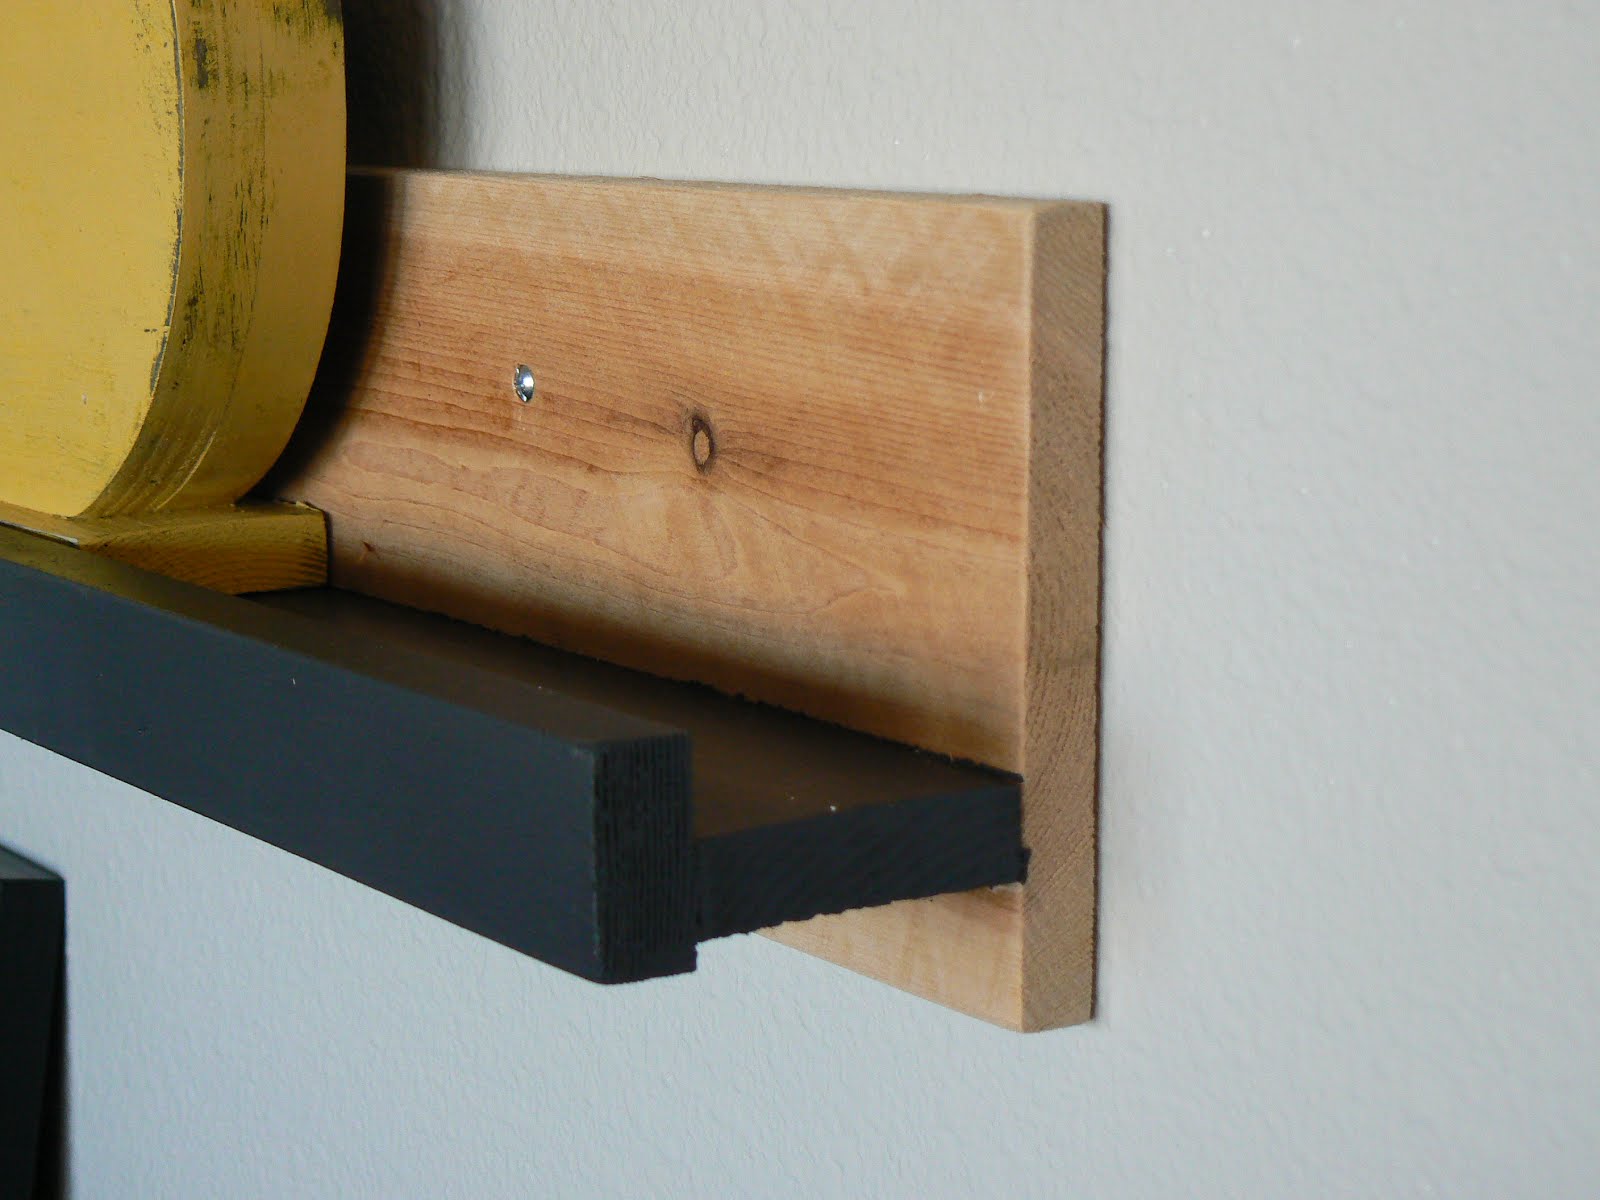
A side view of how I put the shelf together. (She is going to paint the back wood to match the wall). I used wood glue to attach the pieces then wood screws for added strength.


Her "!". [Its so that when friends & family come to visit their home, it is understood they stand for important things].

She still has a few more things to add plus some more pictures but I think it looks great so far.

Pin It
Pin It

LinkWithin

Related Posts with Thumbnails