Showing posts with label Sewing. Show all posts

Saturday, September 8, 2012

T-Shirt Rug

My SIL moved into a new home so I thought this would be a nice homecoming gift: This RUG is made out of recycled t-shirts. I was inspired with this detailed tutorial, go here.
Cut 1" x 4" strips of t-shirt(found at second hand store). I cut up 4 men's XL shirts and used the whole shirt of each.
Sew them on a hand towel(which I also found at the second hand store)along the drawn lines. I got about 30 strips on each line.

It feels so comfortable and looks so cool! Now I need to make me one.
Pin It Pin It

Wednesday, August 22, 2012

"GREEN" Grocery Bag

I've needed some fabric bags to go Grocery Shopping so I don't have so many of the plastic ones to recycle.
I found this GREEN tank top at Goodwill for $2.00. I love the built in "handles".
Turn the tank inside out and sew the bottom opening. 
I did a couple times for added strength.
 My Grocery Bag finished. 
Now onto the other ones. . . 
Pin It Pin It

Saturday, July 14, 2012

Hats for NICU Babies

When our 2nd daughter was born she had to be in the NICU area for 4 days. It was hard but I'm so thankful  they kept her safe and gave her an opportunity to heal so she could come home. Since this place has such a sweet spot in my heart I knew this would be a great service opportunity.
A couple of months ago we had an activity with our "Activity Day" Girls sewing these hats to give to the hospital. I spent $12.00 and cut out 85 hats. I was inspired to recycle a shirt (from the second hand store)from this cute idea.
For my pattern I bought these hats at Walmart to trace (then used them as a gift for a friend).
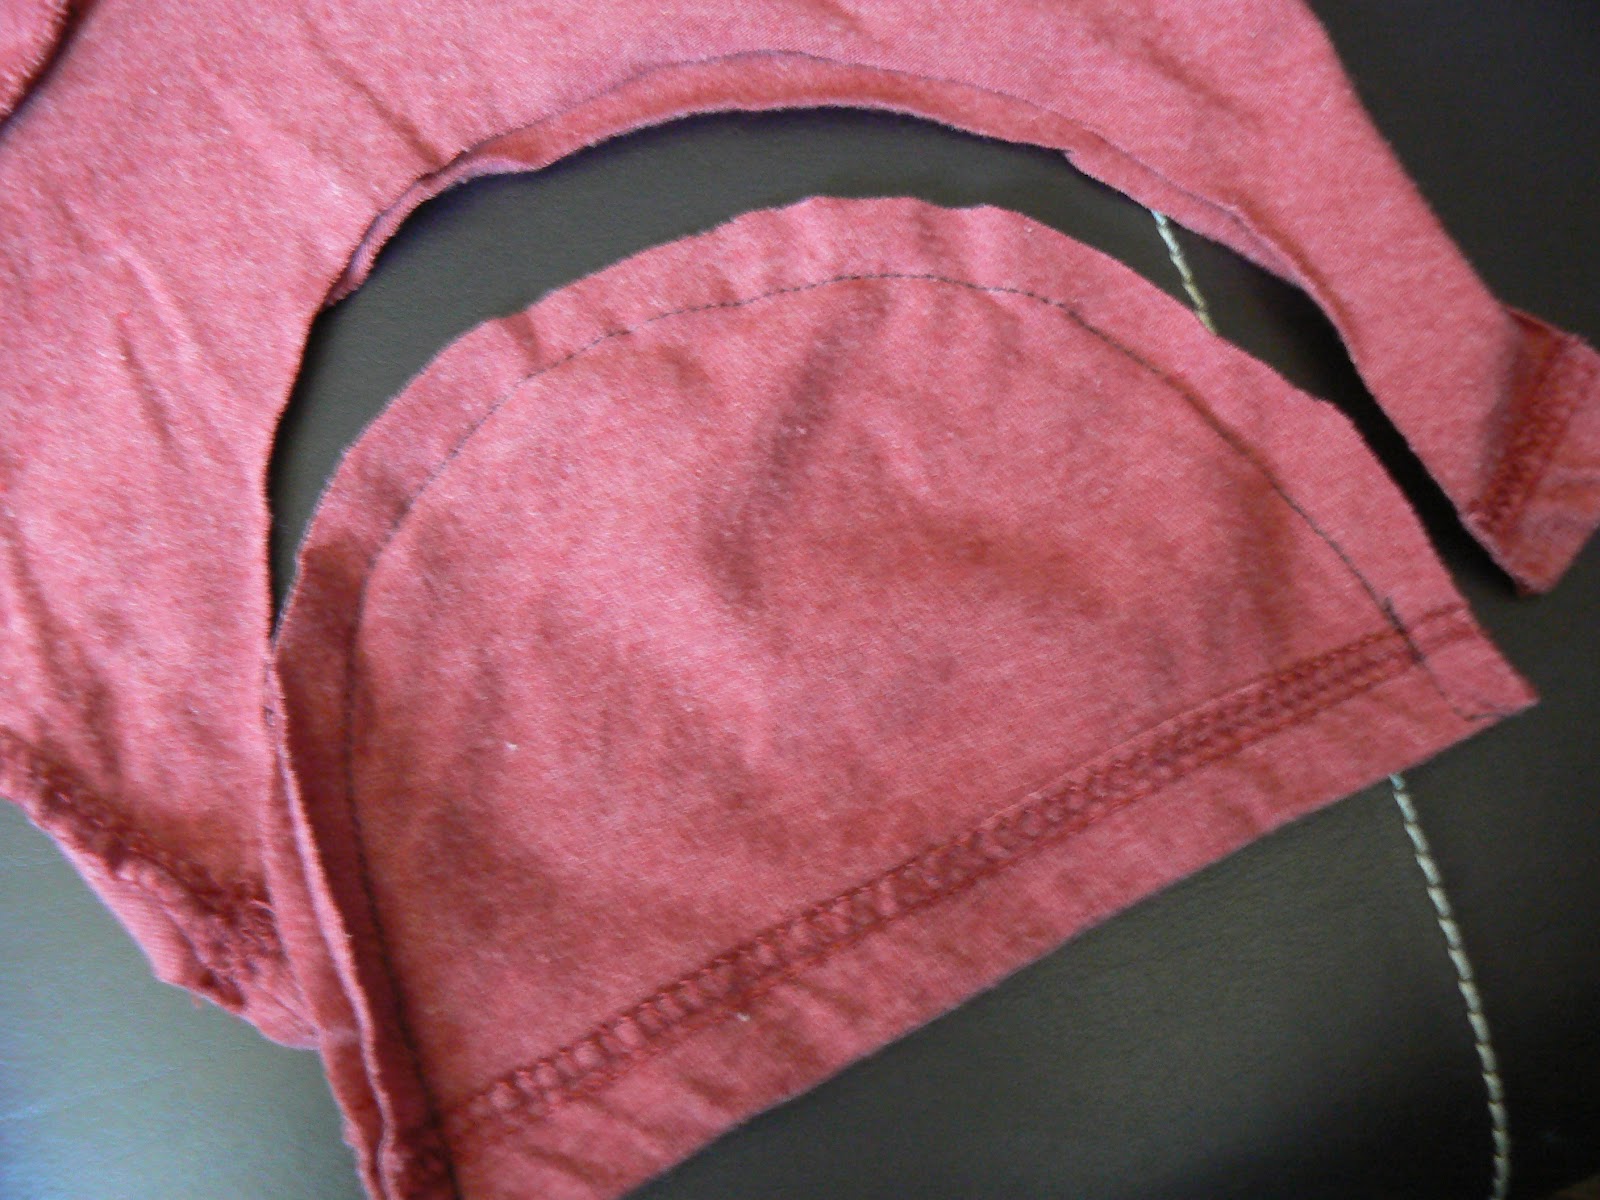
Turn the shirt inside out. Cut the hat from the sleeve or bottom finished edge. Stitch around the cut edge.
Done with the boy hat.
Girl hat.
For the girl hat flower: cut 6 circles (3@ 1 1/2", 3@ 1 3/4").
Layer them & tie a knot in the center.
Cut slits going around the circle. Be careful not to cut all the way through.
 Tie on a button.
Pin It Pin It

Friday, June 8, 2012

My New Temple Dress

I want to show you my new 3-piece temple dress that I put together for only $10!

The background story:
I own 2 other temple dresses that are too small for me with all the weight I've gained over the years since before I left for my full-time mission. They are an adjustable size small/medium and a size large, (both homemade). Well, I've gained so much weight that I've been renting a dress from the temple every time I go. I got tired of renting a dress, plus you can't rent temple clothing at most temples now. So I decided it was time to get a new dress, but I didn't wanted it to be pretty and comfy without having to spend a lot of money.

What I did:
I was at Ross one day and saw some long, white summer skirts on the rack. At that moment I decided that my temple dress would be a skirt and top instead of a dress. It took me several trips to Ross, Burlington Coat Factory, other discount stores, and different thrift stores. (I would always just keep my eyes peeled for the perfect "white" pieces.)

Where I got my 3 piece temple dress:
I got the white skirt at the Good Will for $3 because it was half-off.
I got the white (knit) shirt many months later, also at the Good Will for $1 (half-off).
I got the lace-collared top at Burling Coat Factory just last weekend to complete the outfit, at the cost of $5.99. *This top was not gathered at the bottom when I bought it. It was really loose and unflattering, so I added elastic around the bottom hem to give it a more finished look.

Goal accomplished! Cute, comfy and inexpensive!! Pin It

Tuesday, April 24, 2012

baby {TIME}

My friend Trina just had a baby boy-this was my gift. . .
I did gifts from different times of the day{Play Time, Any Time, Bath Time, Bed Time & a "Just for Mom" Time}


PLAY TIME


Cut 2 pieces of fabric(7"x7"). Pin 9 strips of ribbon (5" in length)folded in half. 3 on each side. Stitch 1/4" seam around the square. Leave an opening on one side.

Cut a ziplock bag to fit the dimensions of the fabric.

Layer all the pieces together to do the final stitching. On the bottom start with the fabric with the stitched on ribbon then the other piece of fabric(right sides together) then the ziplock bag.

Stitch 1/2" seam around the square. Leave the opening so you can turn it inside out.

Turn right sides out and stitch all the way around.

ANY TIME

Hats & Wipes


BATH TIME

I used a scrapbook die cut shape for my duck pattern.

Stitch the duck on with coordinating thread.

Pin 2 bath hand towels right sides together then stitch.

Turn inside out and stitch around the outer edge.


BED TIME
"Baby Sleeping" door sign(I hot glued felt onto the back so it wouldn't hurt the door)


JUST FOR MOM TIME
Hair Clip, Chocolate, & Calgon Bath Salts

Pin It Pin It

Thursday, March 29, 2012

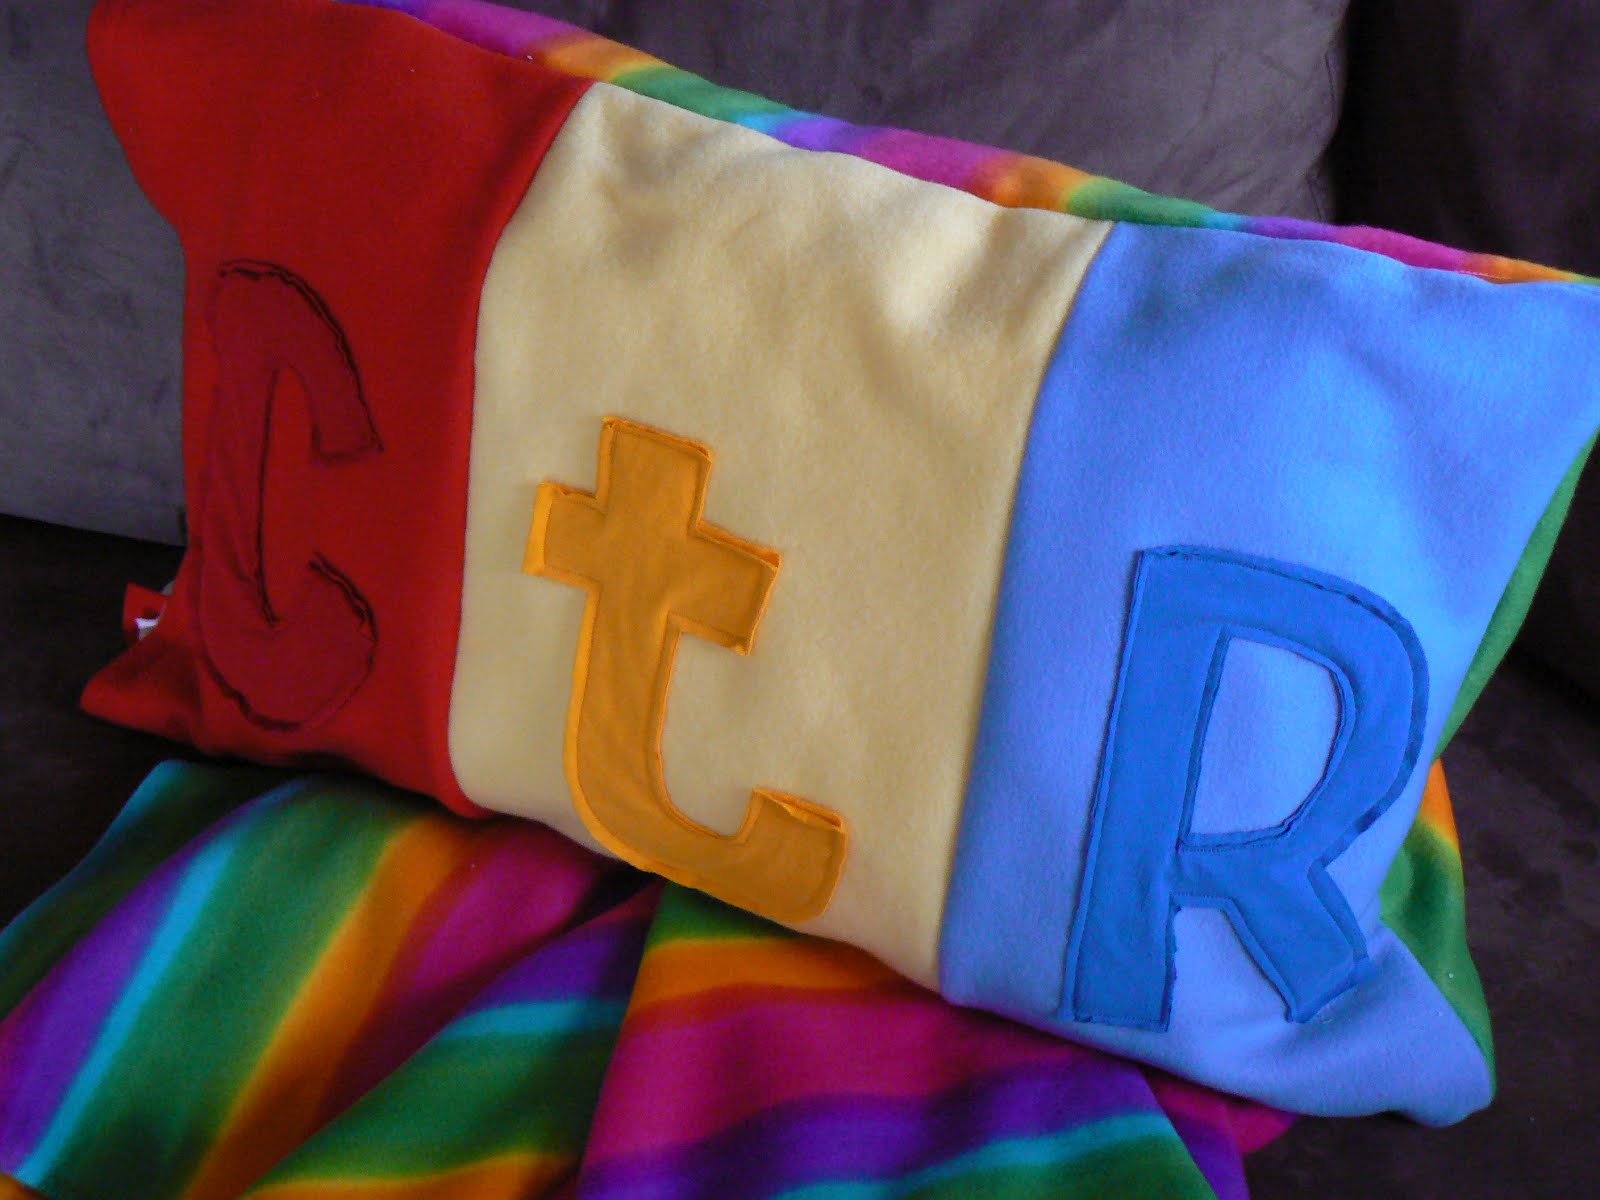
{CTR} Conference Pillow


To add to our special General Conference weekend I wanted the kids to be comfortable and cozy(hopefully not so much that they fall asleep).
I decided to make pillow cases (& blankets) to be used only for Conference. [This was an investment but luckily I hit a great sale at Joann Fabric 1/2 off fleece sale].

HOW TO:

First cut out the "CTR" letters[mine are 6" wide x 9" tall] to sew onto the front fleece piece. I cut them out of t-shirt material found at the second hand store.


FRONT SIDE: cut a piece of red/blue & yellow fleece(21"x 10.5"). Stitch each letter onto the coordinating color. Then sew the panels together with a 1/2" seam.


Cut a pillowcase(from the second hand store, only $1.00) in half. For the front & back. Cut another piece of fleece for the backside. This one will match the blanket(21" x 30").


Pin & sew the "paneled"(=the front) piece and the "matching blanket" piece(=the backside) to each side of the cut pillowcase.


Face right sides together, stitch around the end casing then stitch the other 3 sides to close the pillowcase up.


Each pillowcase will have a NEW matching blanket. Sew the edge of the blanket(60"x 70"). I might stitch their names on the blankets like I did here.


Other fun things to add to our Conference tote:
The DAY BEFORE:

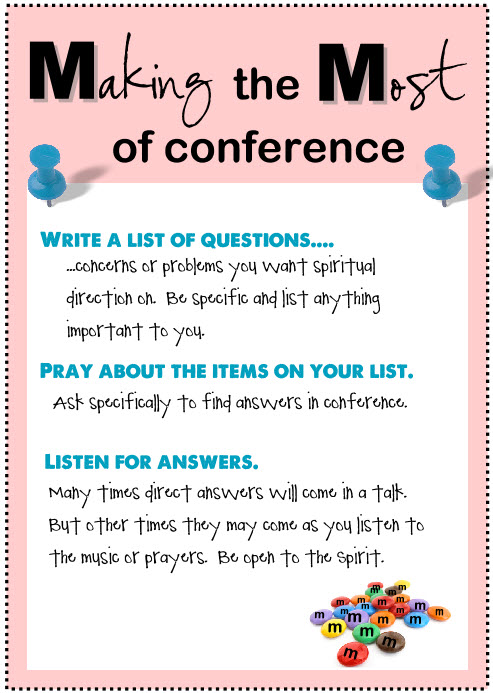
They get these M&M's the Friday before so they can prepare their mind.


We go food shopping so they can use these fun trays(I got these at Pottery Barn 5+ ago but I think Walmart has some).

CONFERENCE DAY:

New Fuzzy Socks(found at Target) with a poem.


Paper packets here & here with a new pen(found at Michael's for $1.00).


Our memory game.


BINGO cards(different ones for spring & fall) using their favorite candy.

All of our Conference items are kept in a tote (thanks Cami!) ready for April & October.

Pin It
Pin It

Tuesday, March 13, 2012

Stitched Flower


When I was in Utah a little bit ago I went to this cute Quilting shop I visit every time I'm there. They had this
Stitched Flower pinned on a dress. They didn't have a pattern to buy so I had to make my own.


I cut a 3 1/2" flower template out of chipboard (you could use cardstock). Cut a piece of fabric(fleece or cotton) big enough for the flower template and sandwich a piece of batting("Warm & Natural Needled Cotton Batting")in between the fabric layers. Using the template cut the fabric flower.


Stitch around the flower with coordinating thread.


Stitch a "gathering" stitch(with this cool tip) down the strip of fabric(1/2" x 20").


Take the gathered fabric strip and stitch regularly into a coil in the middle of the flower.


The frayed coiled fabric strip in the middle.


Add some embellishments in the center of the flower such as buttons & rhinestones. Now its Ready to Wear!

Pin It Pin It

LinkWithin

Related Posts with Thumbnails