Showing posts with label RECYCLED Projects. Show all posts

Thursday, July 11, 2013

Easy-Access Paint Storage for Touch-ups

I saw this great idea on Pinterest for storing small amounts of paint in baby food jars to use for touch-ups. I finally did it, but re-used my kids' empty milk cartons from "free lunch at the park". I simply peeled off the milk label, washed out the carton, and labeled them with a sharpie- all important info, including which rooms they match. Then I swiped a little dab of the paint on my finger to put on the lid. SO simple!


I am hoping this works out and keeps the paint fresh. The nice thing about this is that they are small enough to store inside the house in a cupboard or on a shelf for quick, easy access whenever you need them. Also, inside they are in controled temperatures so the paint doesn't freeze or bake. Yay! Thank you Pinterest, for a great idea!

Pin It Pin It

Friday, February 8, 2013

Love Note 1- Magazines

This year I'm taking the simple route with giving Valentines to our kids.
Each day, until Valentine's Day, I will sprinkle a little "love" with a message on a 3x5 card.
I just got a pack of 3x5 cards at the dollar store to use for all the "love notes".
 For today I recycled some magazines and chocolate hearts to create a love note.
Pin It Pin It

Saturday, November 24, 2012

Thankful Chalkboard

I got this made Thankful ChalkBoard a little late this month but next year I hope to use it all month long so we can write down the many blessings that come daily.
I started with cutting a shutter door in 1/2.
I painted the board "frame" and then drilled holes in the top for the fabric ribbon.
This is so cool. . .I just figured it out. Instead of measuring a cup of Flat paint, I got this "sample" Behr container(from Home Depot & the samples only come in Flat) to just add the 2 Tbl. of  non-sanded tile grout to make the Chalkboard Paint. It was so much easier! And you can have a different color than the boring Black & Gray. I did a Chocolate Brown(Dark Truffle UL140-2).
Brush on the Chalkboard Paint. I did 3 coats. Sand lightly(with the FINE sandpaper) between each coat. Then "condition" the board before the first use.
*Condition means to lay the chalk on its side and cover the whole board. Then wipe off with a clean dry cloth. You are now ready to write on the chalkboard.

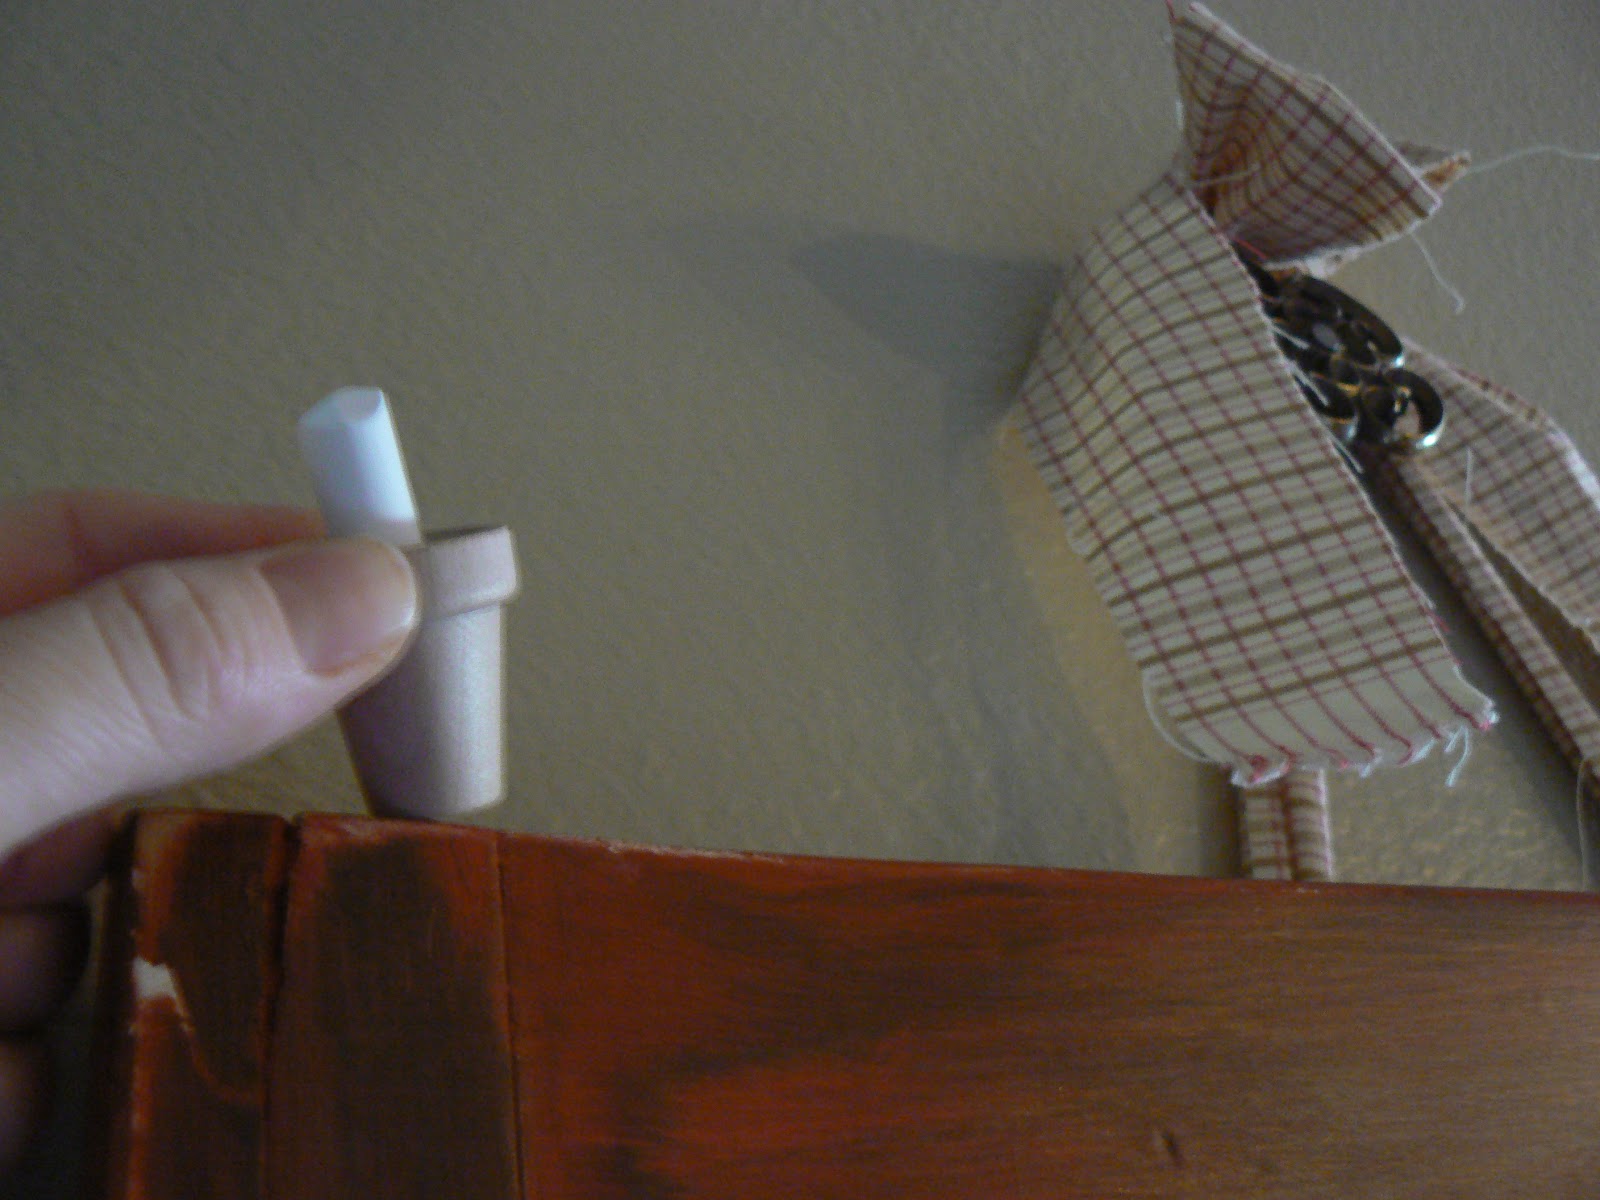
 Drill a hole in the top of the frame for the wooden pot(sorry not sure of the size cause I had it leftover from another project) to hold the chalk.
Pin It Pin It

Saturday, September 8, 2012

T-Shirt Rug

My SIL moved into a new home so I thought this would be a nice homecoming gift: This RUG is made out of recycled t-shirts. I was inspired with this detailed tutorial, go here.
Cut 1" x 4" strips of t-shirt(found at second hand store). I cut up 4 men's XL shirts and used the whole shirt of each.
Sew them on a hand towel(which I also found at the second hand store)along the drawn lines. I got about 30 strips on each line.

It feels so comfortable and looks so cool! Now I need to make me one.
Pin It Pin It

Wednesday, August 22, 2012

"GREEN" Grocery Bag

I've needed some fabric bags to go Grocery Shopping so I don't have so many of the plastic ones to recycle.
I found this GREEN tank top at Goodwill for $2.00. I love the built in "handles".
Turn the tank inside out and sew the bottom opening. 
I did a couple times for added strength.
 My Grocery Bag finished. 
Now onto the other ones. . . 
Pin It Pin It

Saturday, July 14, 2012

Hats for NICU Babies

When our 2nd daughter was born she had to be in the NICU area for 4 days. It was hard but I'm so thankful  they kept her safe and gave her an opportunity to heal so she could come home. Since this place has such a sweet spot in my heart I knew this would be a great service opportunity.
A couple of months ago we had an activity with our "Activity Day" Girls sewing these hats to give to the hospital. I spent $12.00 and cut out 85 hats. I was inspired to recycle a shirt (from the second hand store)from this cute idea.
For my pattern I bought these hats at Walmart to trace (then used them as a gift for a friend).
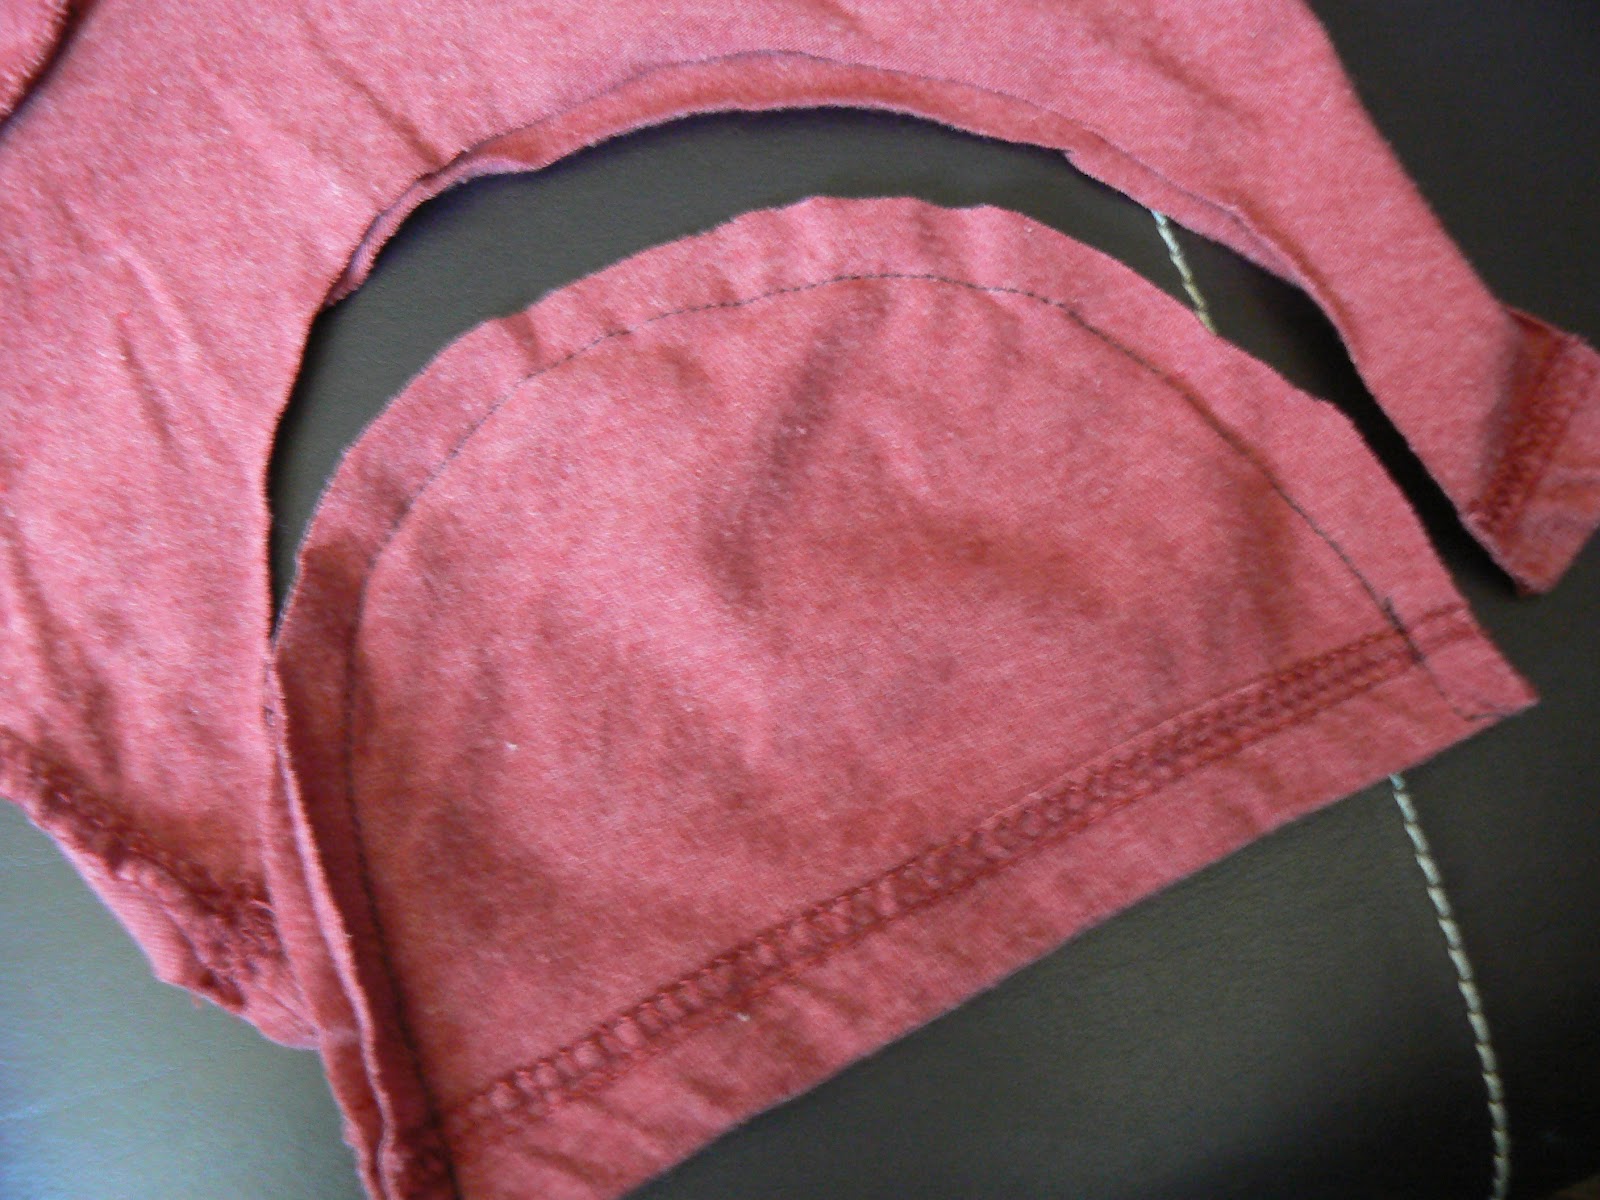
Turn the shirt inside out. Cut the hat from the sleeve or bottom finished edge. Stitch around the cut edge.
Done with the boy hat.
Girl hat.
For the girl hat flower: cut 6 circles (3@ 1 1/2", 3@ 1 3/4").
Layer them & tie a knot in the center.
Cut slits going around the circle. Be careful not to cut all the way through.
 Tie on a button.
Pin It Pin It

Friday, June 8, 2012

My New Temple Dress

I want to show you my new 3-piece temple dress that I put together for only $10!

The background story:
I own 2 other temple dresses that are too small for me with all the weight I've gained over the years since before I left for my full-time mission. They are an adjustable size small/medium and a size large, (both homemade). Well, I've gained so much weight that I've been renting a dress from the temple every time I go. I got tired of renting a dress, plus you can't rent temple clothing at most temples now. So I decided it was time to get a new dress, but I didn't wanted it to be pretty and comfy without having to spend a lot of money.

What I did:
I was at Ross one day and saw some long, white summer skirts on the rack. At that moment I decided that my temple dress would be a skirt and top instead of a dress. It took me several trips to Ross, Burlington Coat Factory, other discount stores, and different thrift stores. (I would always just keep my eyes peeled for the perfect "white" pieces.)

Where I got my 3 piece temple dress:
I got the white skirt at the Good Will for $3 because it was half-off.
I got the white (knit) shirt many months later, also at the Good Will for $1 (half-off).
I got the lace-collared top at Burling Coat Factory just last weekend to complete the outfit, at the cost of $5.99. *This top was not gathered at the bottom when I bought it. It was really loose and unflattering, so I added elastic around the bottom hem to give it a more finished look.

Goal accomplished! Cute, comfy and inexpensive!! Pin It

Monday, March 26, 2012

Re"Newed" Tray Table


I needed a little table to use while sitting in front of the TV relaxing (after the kids go to bed) for working on projects. I found one in the pile to go to the second hand store from one of our daughters. I decided to pull it out and give it a NEW life.


Before . . . .


I sanded it down, spray painted it black then gray.


Then I cut a piece of leftover fabric to Mod Podge in the middle.


Pin It Pin It

Tuesday, March 20, 2012

{Bead} Containers

Walmart does it again. I love using a product because its good then use the container for another use.


Walmart has these great dressings in a square bottle.


I RECYCLED the container to use for my bead storage.
Now I just have to keep eating my salads-only 10 more to go. . .


Pin It Pin It

Tuesday, September 20, 2011

Multi-Use Container

Our kids drink juice like water running out of a faucet. So I like to keep some on hand all the time. [Although with all the cavities that the Dentist found, they have to brush right afterwards].
I like using the drink power found at Walmart to mix with my real fruit juice that I can during the summer months. It helps things go further but also is more healthy.


This is Walmart's NEW Drink Powder Container. I am lovin' it.


It unwraps easily & can be used for many things. I put some markers in there. They fit perfectly! Pin It

Tuesday, January 25, 2011

Battery Storage

Since I keep all our batteries in the frig I thought it was time for them to be organized.


What a mess. . .


I re-used these containers(bulk containers from Costco).


Organized in the frig. . .


Pin It

LinkWithin

Related Posts with Thumbnails