Showing posts with label Camping. Show all posts

Thursday, August 18, 2011

Tent Trailer Re-Do's for Others

This summer 4 other families, that we like to spend time with, bought used tent trailers (for great deals on Craigslist as well). This includes 2 of my husband's sisters. So along with my own tent trailer re-do this summer, I also helped those 2 sis-in-laws re-do their cushions and curtains.

We did only the cushions on this first one (Tasha's). I did the plain, heavy-duty canvas on the whole thing and sewed the cute stiped material right in with it. Tasha's husband did an amazing job remodeling the entire trailer, both inside and out!! I will have to hit him up for some before/after pics!!

This other one (Cala's) was a LOT of work, but it turned out super savvy (just like her). Their trailer came with grey and burgandy interior and canvas. We stayed with that color scheme and found a classy black/grey pattern on a nice, thick fabric for the cushions.

We used the curtains it came with, but they were a bit short after being washed and dried. So we found some coordinating fabric, of the same thickness, and I added a 3 1/2 inch valance (border) to the top of each curtain with a matching tie for the middle.
We were all very pleased with our interior "re-do's", and have made them fit each of our styles and personalities. We can definately call our trailers a "home away from home" now.

Pin It

Monday, August 8, 2011

My Tent Trailer Project

We bought a 1986 tent trailer a few years ago for pretty cheap on Craigslist. It was not much to look at. The canvas and screen were brittle and shredded in many places. The wood was moldy. It was not well cared for at all. We had our work cut out for us for sure!
My husband found a wonderful website called PopUpPortal.com that helped a lot in our venture. Fixing up this tent trailer has become a hobby for him ever since. He has since replaced the wood, fixed electrical stuff, repainted the whole exterior, rigged up a way to put up our canopy, and several other things. He continues to come up with new improvements every few weeks.

My part in this whole tent trailer project has been lots and lots of sewing!! I spent many, many hours sewing on this thing, so I think it's time for a little "show and tell"!!


My first project was a biggie- the canvas, itself. Something I NEVER wish to do again! We had to take the entire canvas off the trailer since it was all one piece. We bought some canvas that matched and had to tear out and re-do whole sections of canvas and screen. I did it all with just my Kenmore sewing machine! (Of course I had to use heavy-duty needles and thread to sew on canvas.) I had to set up a long table in the garage, and my husband helped me handle that "beast" while I measured, pinned and sewed. I couldn't have done it without his help!


After the sewing repairs, we still had to patch up the smaller rips and tears; and we continue to do so. The best stuff we have found for patching is called Tear Mender, which we have to order online.

The next thing I decided to re-do in our trailer was our seat cushions. The old ones were not only uncomfy and outdated, but worn as well.

So I found some upholstery fabric at Walmart for $1.50/yard and sewed new covers. I just took off the old covers, unstitched them from the vinyl backing and used them as a pattern to cut new ones. I saved the vinyl backing (with zippers still attached) since they were still in pretty good shape, and sewed on the new fabric to fit the cushions. The hardest ones to do were the bunk ends. But the seat cushions were really not too bad!

I just recently re-did the curtains since the old ones were moldy and stained. I happended to find some more great fabric at Walmart for a great price. So for very little money and a whole lot of time, I was able to add my personal touch to make the inside of our trailer look and feel warm and cozy for camping!


And I LOVE how it turned out! Next I would like to use my leftover fabric to make coordinating bedspreads for the 2 bunk ends. Maybe next year though. Whew!

Pin It

Thursday, June 30, 2011

Roasting Stick Bag


My family inspired me this last weekend to make bags for our Roasting Sticks.


This is the BEFORE. . .


This is the AFTER. . .

Here's how I made the bag. . .

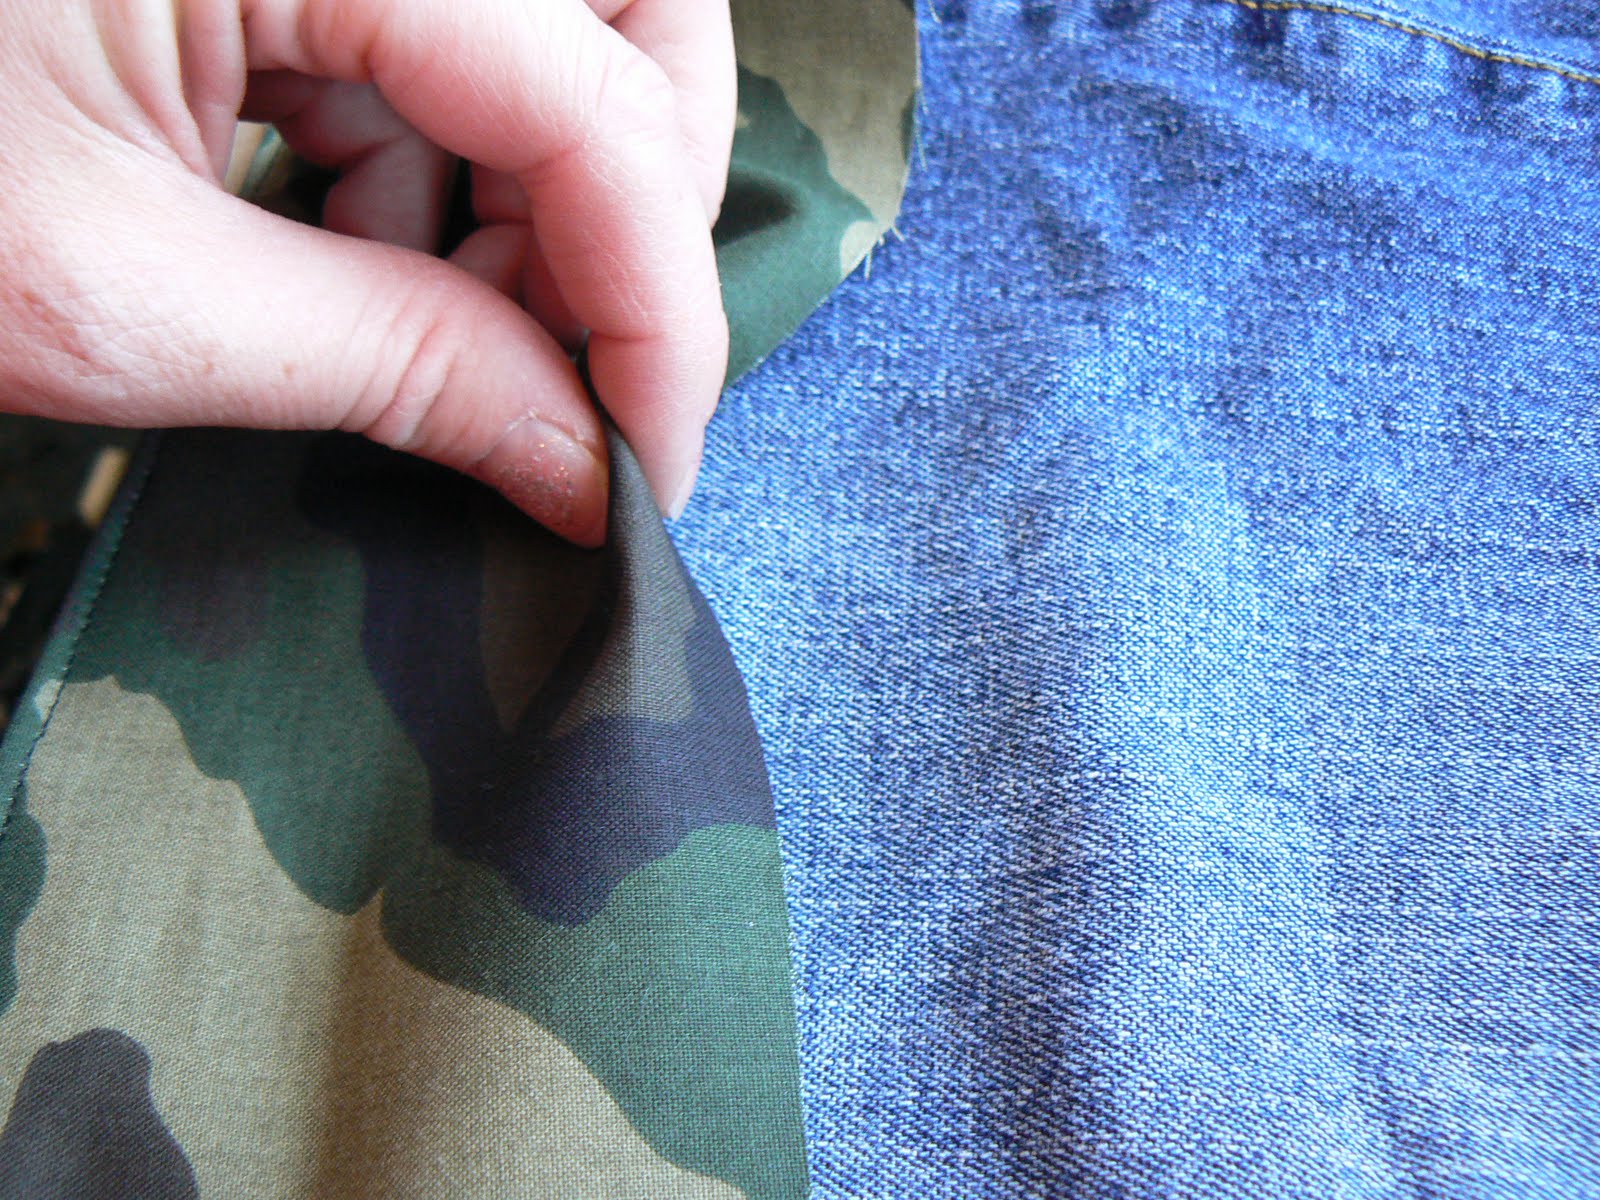
1- Grab an old pair of jeans & cut the pant leg to the size of the roasting sticks (mine is 27" before hemming).


2- Turn the jean pant leg inside out & using a heavy duty needle, stitch the bottom closed.


3- For the drawstring top, cut a piece of fabric to fit the diameter (x 4")of the pant leg. Put the ends right side together leaving an opening.


4- Pin the fabric right side to the wrong side of the jean. Stitch around.


5-Turn pant leg inside out and stitch around the top edge.


6- Fold the unfinished edge under & stitch around the pant leg making the casing for the string.


7- Thread ribbon or string in the hole of the casing.


8- Use your CREATIVITY to draw pictures/words on the bag.

[After thought: I might have to sew on a piece of ribbon for hanging.]


This is our fire pit area in our backyard. The large pit is for roasting marshmallows/hot dogs & camp wood burning. The smaller pit is for our dutch ovens. Pin It

Wednesday, July 28, 2010

Camping Scavenger Hunt For The Kids

We have a camping family reunion soon, and I was asked to make up a little scavenger hunt activity for all the children. The little cousins range in age from 2 yrs to 11, so I had to come up with something suitable for everyone. I went online searching for ideas, but just couldn't find exactly what I was looking for.

The little cousins can't read yet, of course; so I came up with my own scavenger hunt list with pictures that they could understand. Since this was just a family activity, I just Google Image searched for the pictures I would need.

HERE is a FREE copy for YOU. Enjoy!!
(Click on image to enlarge)

Anyway, I made this picture list, printed it off, then attached it and a pen to a paper bag. Fun!

*Here's a list of what's on my chart above
(row-by-row from top-to-bottom):
Pine Needle
Green Leaf (extra points for biggest and/or smallest)
Brown (dead) Leaf
Plant with Root
Leaf Eaten by Insect
Sharp/Rough Rock
Tree Bark
Smooth Rock
Pine Cone
Acorn
Wildflower (extra points if you know the name)
Wild Berry
??Treasure not found on list!??
Blade of Wild Grass
Tree Twig
Empty Pop Can
Broken Glass
Plastic Wear (extra points if find all 3)
Bottle Cap
Plastic Water Bottle
Coin
Bug/Insect ((include small 'sauce' container w/ lid from restaraunt))
Piece of Rope
Bullet Shell or Casing
Bird Feather

*Update: 8/5/10 FAB RESULTS! We did this with the kids at our family reunion this last weekend, and it went over very well! The only thing I wished I'd done differently was to add "or pop can tab" to the spot with "bottle cap" (pic below). Anyway, the kids had a blast searching for the items on their scavenger hunt lists. The older cousins (as well as parents/grandparents) got to help the younger ones. It was an all-around great activity for our camping reunion. My sis-in-law even gave out prizes at the end to the ones who found the most things.


Pin It

LinkWithin

Related Posts with Thumbnails