Friday, December 7, 2012

{JOY} Door Wreath

I had lots of extra supplies around the house for this project.
Here Goes. . .
I started with a 10 inch stitching hoop.
Tie on 7 inch strips. Alternate knotting the tie-one on the side then the next one on the top and so forth.
Go around until finished.


I cut some  9 inch letters for the "J" & "Y".
I spray painted an extra wooden hanger to match the red letters.
Tie the hoop and the letters onto the hanger.
Its ready to hang on the door.
Pin It Pin It

Monday, November 26, 2012

Fall Door Wreath

My Fall Door Wreath.
{I love how it looks like turkey feathers}

I used a green floral wire wreath frame to tie onto with the burlap strips( 1/4"x8'). The burlap is very messy. [I had to change clothes and vacuum afterwards].
Pin It Pin It

Saturday, November 24, 2012

Thankful Chalkboard

I got this made Thankful ChalkBoard a little late this month but next year I hope to use it all month long so we can write down the many blessings that come daily.
I started with cutting a shutter door in 1/2.
I painted the board "frame" and then drilled holes in the top for the fabric ribbon.
This is so cool. . .I just figured it out. Instead of measuring a cup of Flat paint, I got this "sample" Behr container(from Home Depot & the samples only come in Flat) to just add the 2 Tbl. of  non-sanded tile grout to make the Chalkboard Paint. It was so much easier! And you can have a different color than the boring Black & Gray. I did a Chocolate Brown(Dark Truffle UL140-2).
Brush on the Chalkboard Paint. I did 3 coats. Sand lightly(with the FINE sandpaper) between each coat. Then "condition" the board before the first use.
*Condition means to lay the chalk on its side and cover the whole board. Then wipe off with a clean dry cloth. You are now ready to write on the chalkboard.

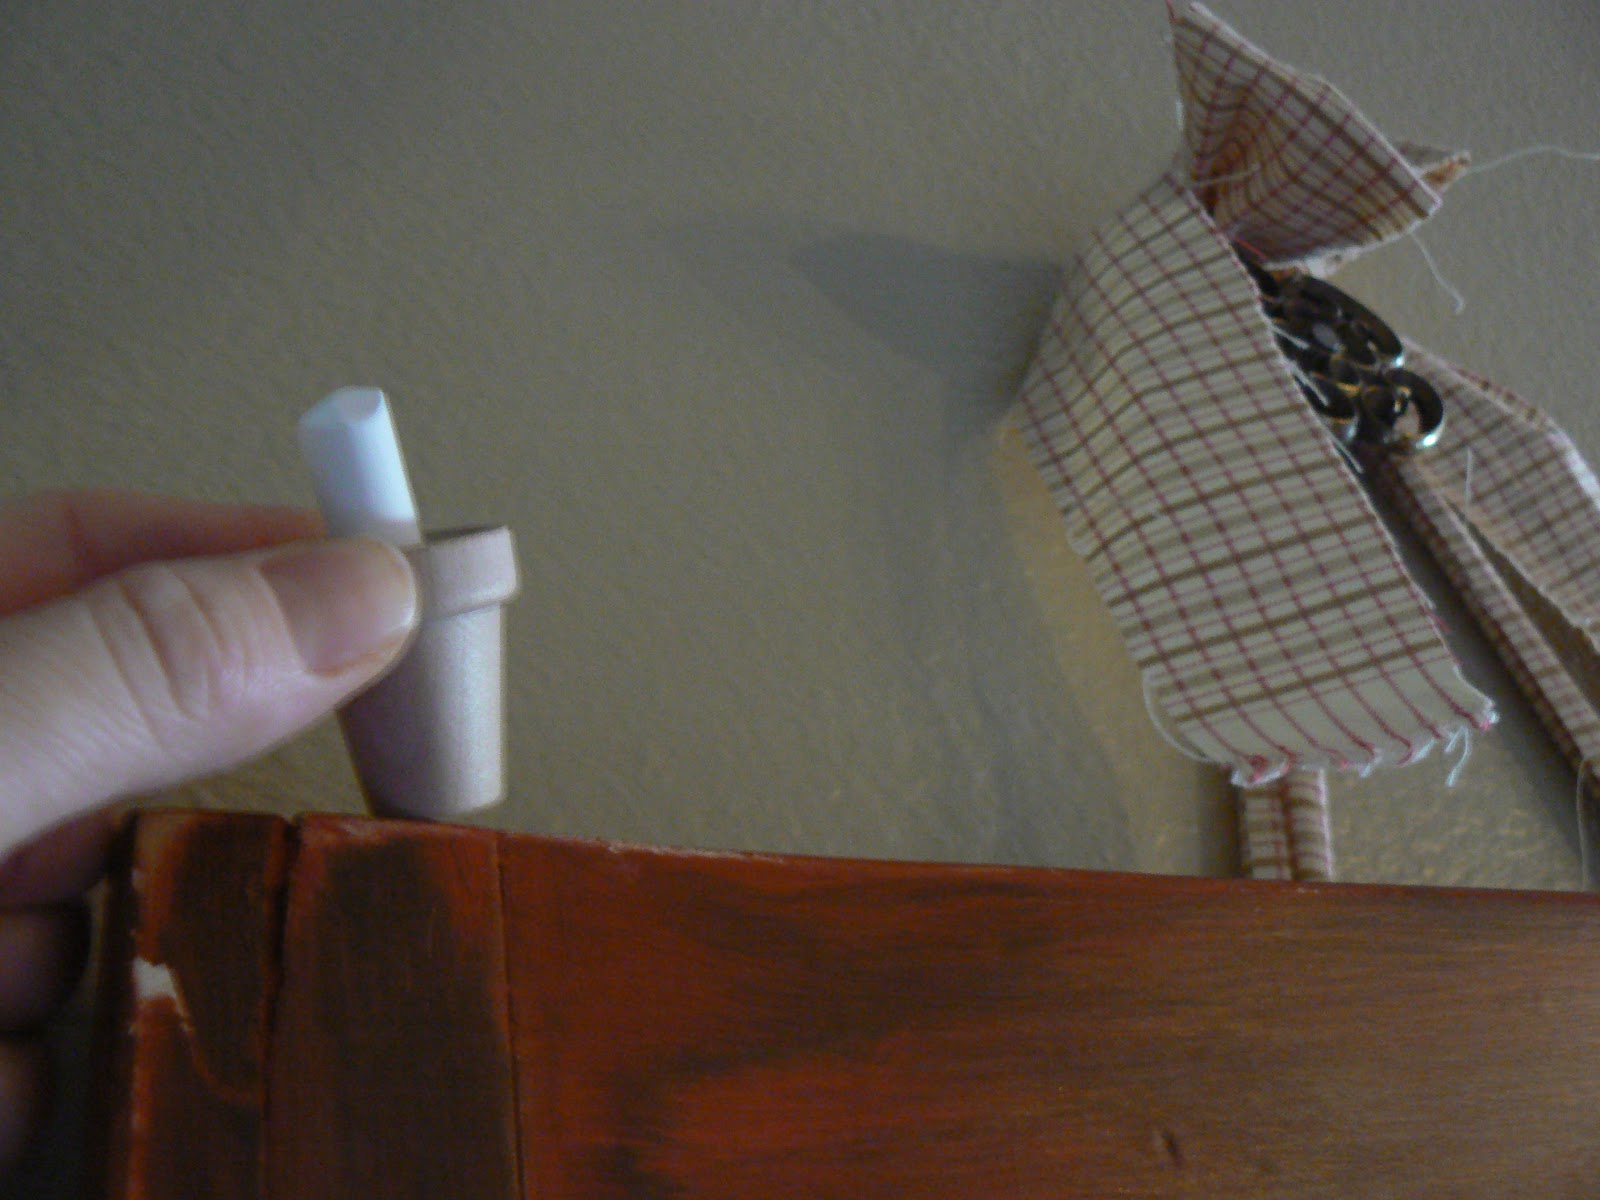
 Drill a hole in the top of the frame for the wooden pot(sorry not sure of the size cause I had it leftover from another project) to hold the chalk.
Pin It Pin It

Friday, November 23, 2012

ThanksGiving Day 2012

I love how our ThanksGiving Day tablescape turned out. 
I took a few different angles.
I used: 2x12x8 wood board(stained), 11 different kinds of squash(Winco Food Store), candles in mason jars, corn, leaves & grass picks(dollar store), more leaves and pinecones(Walmart clearance).

Our Thankful Chalkboard(post coming tomorrow).

Our middle daughters' birthday fell on Thanksgiving this year so we celebrated that as well.
 Auri turns 12. 
I made posterboard numbers for our family members to write birthday wishes.
Birthday Banner using paper plates(Walmart clearance) with vinyl letters.
Pin It Pin It

Wednesday, November 21, 2012

Birthday Snack Tote

 For our kids' Birthdays, they get to pick treats & drinks for their special day. Its nice to keep it all in one spot- our handy Birthday Snack Tote!
Pin It Pin It

Tuesday, November 13, 2012

Hot Lunch Chart

Our girls love to have hot lunch(especially the middle schoolers-its much "cooler")but it gets a little spendy. We have agreed they can choose one day out of the week to have hot lunch, so to keep me prepared I made this chart.
I used a leftover piece of plexi-glass.

Brush on some Mod Podge.
Lay your desired fabric and glue a magnet on the back.
Attach the vinyl. Now just use a dry erase marker to change it from week to week.
Pin It Pin It

Saturday, November 10, 2012

Altered Frame

A Great picture to go in a Great Frame!

My mom gave me this bag full of buttons. 
They've been sitting on my craft room floor for. . .awhile. I didn't know what to do with them until today. 
I got this frame from the second hand store(only $1.00).
Take the wooden buttons and hot glue them to the frame. I didn't really do any pattern.
Spray paint the whole frame(I used the "Hammered" one).
Add the rhinestones to the middles to hide the button holes.

 A finished Frame that I hope is "Target Store" worthy!
Pin It Pin It

Wednesday, October 31, 2012

Mummy Block

Have a "BOO-tiful" HalLoOweEn!!!
I made these for the sisters I visit teach and made some for the kids teachers. 
Paint & fabric(muslin) wrap a 2x4(5 1/2" tall). Attach googly eyes.

I packaged them like this.
Pin It Pin It

Friday, October 26, 2012

PosterBoard Letters

I made this sweet message for my hubby yesterday for our anniversary.
[I found the posterboard at the DollarTree Dollar store for $0.50 each.
That's better than Walmart's price. I always love a Great deal!]
Pin It Pin It

Thursday, October 25, 2012

Lasting Candle

Here's a quick tip to make your favorite candle last a lot longer: 
after you have burned it down a bit add a tealight (regular one or a battery operated one) to the center.
I love the fall weather. Perfect time for candles and hot chocolate.
Pin It Pin It

Friday, October 5, 2012

{Bracelet} Holder

One more Organizing project DONE! I can finally see what Bracelets I have.
I found this over the door Shoe Organizer (at Bed Bath Beyond and saved with a coupon!) with clear pockets. 
Pin It Pin It

Wednesday, October 3, 2012

Conference Door Sign

I made this cute Conference Sign to hang on our door this weekend for General Conference.
I just bought a frame(2"x3") at the second hand store($0.50), painted it & drilled holes for the ribbon.

You can go here to print one.

Pin It Pin It

Tuesday, October 2, 2012

Fall Fabric Ribbon Garland

As we are counting down the days til General Conference, I thought it would be great to have something to hang all the pictures of the Apostles and First Presidency. 
I have the 8x10 pictures but to hang on this garland I used these. I punched out a tab to put in between the picture sheet and info sheet(double stick tape). I added extra to the clothespin by using glitter puffy paint, then spray a clear coat in gloss over the whole thing and then write the name in a sharpie marker.
Attach the pictures onto the garland with the clothespins.

How to make the Fabric Ribbon Garland:
Cut strips of fabric (I did 3 different colors in T-shirt, 8 printed cotton=1/2 yard each one, & tuelle)into 1 1/2"x21".
With the tuelle spool I cut the length to match the fabric strip(21") then cut it in 1/2. I only put the tuelle with the coordinating printed cotton fabric NOT the T-shirt material. it is a little wider than the fabric strip.
Layer the tuelle then the fabric over your "base" ribbon.
Tie a single knot.
 Slide the knotted fabric to combine with the other ones. Keep going in your pattern until you reach your desired length.( I did ours to fit our fireplace =8')

Pin It Pin It

LinkWithin

Related Posts with Thumbnails