I love purses! They come in all sizes, shapes and colors. My other purse was looking a little ragged, a little too small and not very organized. I'm so excited to use my new handmade purse.
To keep my purse organized I've put little stuff in containers. I love containers. They help keep "things" so tidy.

Just a few of the containers. Beauty Bag, "Tools" container, ABC container(great idea to keep the kids entertained at anywhere you have extra time).

1-These are the not so pretty beginning. Remember to "sand it" so the fabric will adhere.

2-Cut a piece of fabric {I love how fabric lays better than paper and doesn't get bubbles}and put a coat of modge podge on container at adhere the fabric.

3-Cut the corners so they will lay flush and not bunched up.

4-After glue has dried, cut fabric excess off.

5-Modge podge the final coat to protect.
Purse "tute" follows:

I was inspired to make a purse like this but with "Heather" style. I just got a denim skirt from Goodwill(at 1/2 price= $1.00). I think they use denim pants but I think a skirt works so much better.
1-Using a simple Crayola marker(if you make a mistake this comes out really well with a wet wipe) draw the outline of a design with your stencil you would like to stitch. I used embroidery floss to do the stitching.
2-My stitching is complete!
3-Turn skirt inside out and measure the width (add 1 inch to the measurment). Pull sides a little to get correct measurment.
4-Measure the length. I started just under the "main seam". Remember to double this number because you will be folding it in half.
5-Cut a piece of your desired fabric. Fold is at bottom.
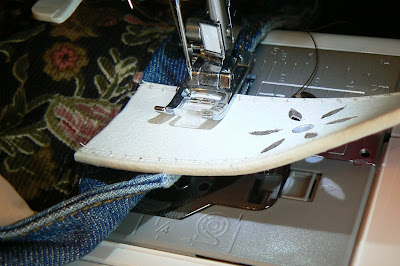
6-Stitch 1/2 inch seam on each end.
7-When done with the ends, fold right sides together and stitch down each side.
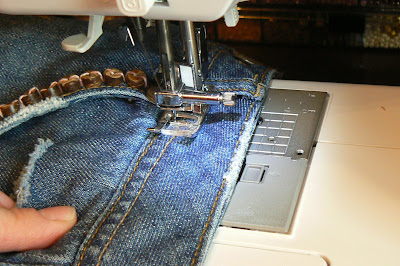
8-Turn the skirt inside out and stitch along the bottom edge {Make sure you have denim needle!}.
9-Go to side of skirt and pinch to make a triangle.
10-Sew like this...
11-This is the "pleat" edge effect.
12-The look from the bottom of the purse.
13-Stuff fabric pouch inside the skirt.
14-Starting at the button/zipper(front); start pinning the inside fabric to the skirt going around(if there is any excess just fold it over close to a side-TIP: its better to have excess than not enough)
15-Your ready to sew them together. I put it this way so I can get a straighter line guided by the exsistin stitching. Just remember to watch for your pins and pull them our before you get to them!
16-I unbuttoned it so I could finish the stitching off.
18-Sew a square (stitch/backstitch/stitch each side of the square)
You are Done! Now you get to enjoy your beautiful purse!


Cute containers and great recycled purse!
ReplyDeleteReally cute purse! How did you sew through all the layers of denim - especially when doing the corner? Last timed I tried to sew through denim it really messed up my machine.
ReplyDelete"Stevens Family": With my denim needle I just go really SLOW on the machine and help guide it. Because in the past I have broken a couple of needles I learned to sew the inside fabric to the skirt just under the "belt area" rim. So its not that thick.
ReplyDeleteHi Heather,
ReplyDeleteSuper Cute purse. I love the swirly stitches! I posted a picture of Jen's with a link back to you tonight!
Thanks for sharing!
Angela
It’s one of my goals to learn how to make a handmade bag. I’ve been trying to make one but I keep on failing. Anyway, I’m sure that by following the step-by-step procedure you provided, I’ll be able to soon create even a very simple bag. Thanks!
ReplyDelete-Rhonda Munoz
Super nice! Love it! Thanks!
ReplyDelete